Welcome to the exciting world that is Microsoft PowerPoint. PowerPoint enables you to create strong, vivid, visual slideshows for any occasion. This guide will help you learn the basics of how to navigate PowerPoint and how to make a simple PowerPoint Presentation. If you already know PowerPoint that’s great! Hopefully you will learn something new along the way.
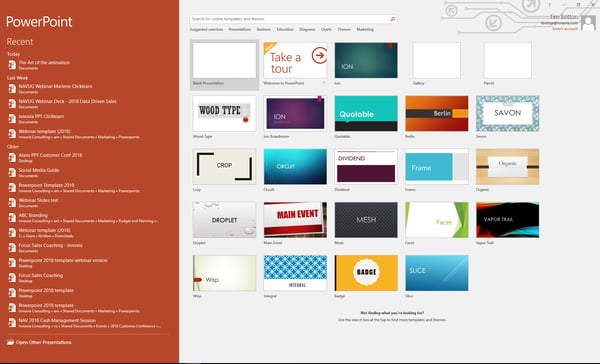
When you launch PowerPoint (PPT for short) you should see a screen like the one I have attached below. This is called the Start Screen. On the left column there is a pane that lets you continue working on your most recently opened presentations. If the presentation you are looking for is not on the list, you can use the “Open Other Presentations” button at the bottom to find what you’re looking for.
On the right side of the screen you will find the most commonly used templates. You can select any of these templates or search for a specific type of template. For our example we are going to pick the Circuit theme.
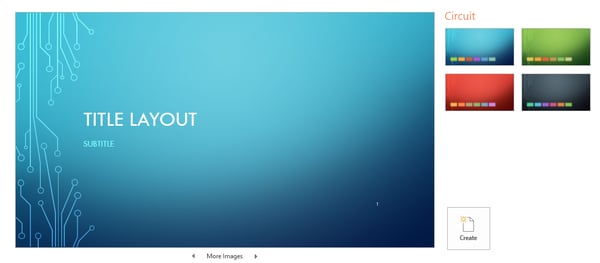
When you select your template you will get some extra color options. Pick the style that best suits your needs and hit create (Alternatively you can double click on the style you prefer).
At this point you will be in the main editing window. The left section is called the slide pane and is where you can view/ organize all of the slides in your presentation. The slide you are currently working on will be highlighted and will be in view on the right side of the screen. Click on the text box to begin adding your own content. If you want to move your text boxes around just put your cursor over the edge of the box (the cursor will change to 4 arrows) and click and drag to the desired location.
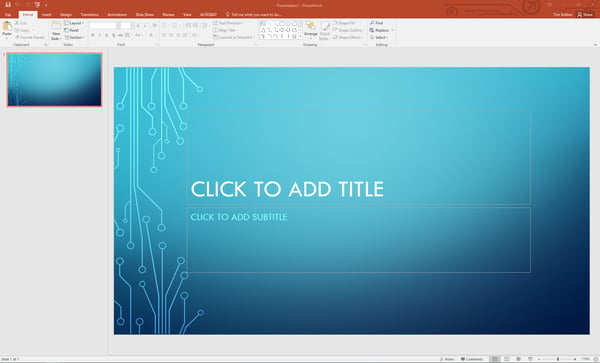
At the top of your screen you will see the main navigation menu which is called the ribbon. The different tabs at the top of the ribbon (home, insert, design, etc.) give you a wide range of options to build your presentation. In some future blog posts I will create a blog to cover each of these tabs in more detail. But for now let’s stick with some of the basics.
Now let’s show you how to add a slide. Make sure you have the home tab selected.

To add a new slide you have three options.
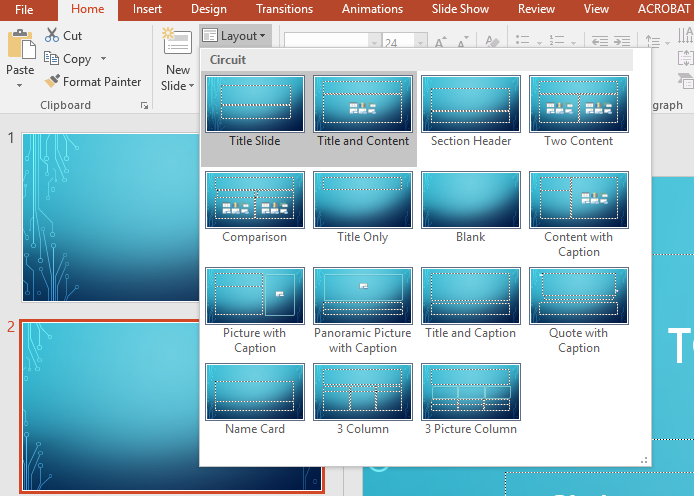
- Click the new slide button on the ribbon. Note you have a dropdown option to add slides with a different layout.
- Right click in your slide pane and select a new slide.
- Hit Control + M (Mac: Command + Shift +N)
The first slide of your presentation will look a little different because it is a title slide. Subsequent slides automatically default to the title and content view. To change the layout of your slide simply select the slide you want to change and hit the layout button in the slides ribbon (or from the layout option when you right click on your slide).
If you need to reorder your slides, all you need to do is click and drag your slide to the desired place in the slide pane.
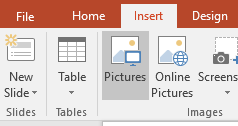
Do you want to add a picture to your slideshow?
Simple, just select the insert tab on the ribbon and select Pictures.
Once you have selected and inserted your picture you will be able to move and change the size of the picture as needed. To do this click on the picture and select one of the eight white circles around the edges then click and drag to adjust. You can also rotate an image by selecting the circular white arrow at the top of the image and clicking and dragging to adjust.

Use the font and paragraph tabs of the main navigation ribbon to edit the basics of your Powerpoint. I will go through each of these options in more detail in a future blog. But you can see what they do by hovering your mouse over each option.

One last thing to show you in this blog. How to actually view your slideshow, there are several different ways to do this.
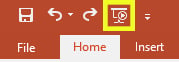
- On the top left of your window hit the 4th button from the left (see picture below)
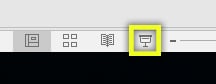
- On the bottom right of your window select the button just left of the slider. (see picture below)
- Hit F5 on your keyboard
For now, just know that you can click or use the right arrow key to advance to the next slide. You can use the left key to go back to the previous slide and the escape key to exit the presentation. I will show you how to use the presenter view in a future blog.
With these simple steps you should be able to start making some simple PowerPoints. Make sure to keep an eye out for more entries in our Getting Started with PowerPoint series, I will continue to show you how to use it.
Don’t have PowerPoint? It is available in Office 365. Contact us at marketing@innovia.com for more information on getting Powerpoint today.