<img alt="" src="https://secure.intelligent-consortium.com/791393.png" style="display:none;">

Building a Table of Contents in Microsoft Word

I was recently asked for assistance in formatting a table of contents in Microsoft Word. At the time, I didn’t have an answer but I am always up for a new learning challenge especially when it is related to one of the products in Office 365. With a little bit of research I found out the answer is actually quite simple. Because Microsoft has built in functionality to do the heavy lifting for us. So now I am going to show you just how easy it is to build a beautifully formatted Table of Contents.  

Step 1: Prepare your Headings

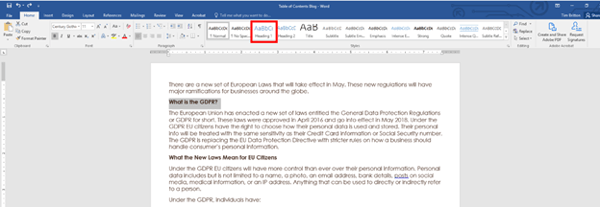
What you will want to do is select the heading you want to include in your table of contents.

Heading Styles

Then select heading 1 from your styles menu and it will now be formatted correctly for your table of contents. Now it is very likely that changing the style from normal to Heading 1 will change the font, font size and font color. You will either need to manually change these back to your desired look or you can change the heading settings so that it updates to your desired appearance.

Heading Styles Tool Bar

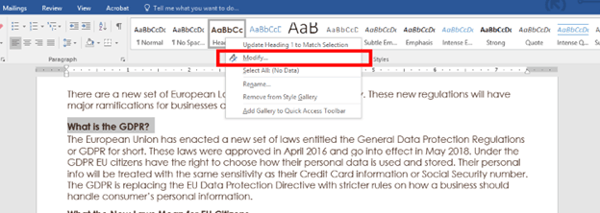
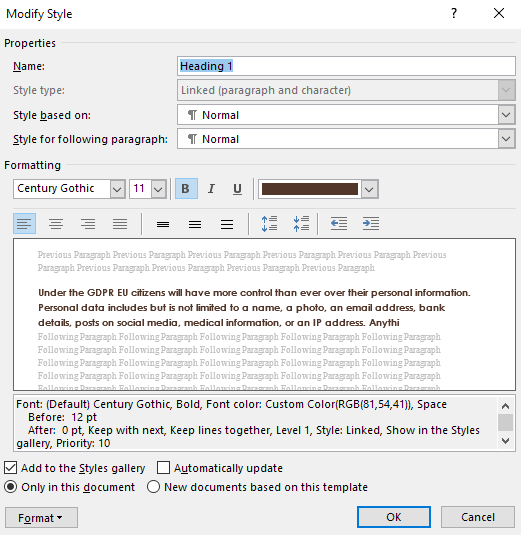
Step 1.5 (Optional): Update design of Heading 1

Right click on your Heading 1 option and choose “Modify…” from the dropdown menu.

Modifying Heading Designs

From here you will get a menu where you can change the attributes of the style. Please change according to your needs and hit ok.

Modify Heading Style Window

Step 2: Apply your Headings

Repeat the process of step one with every heading that you would like included in your Table of Contents.

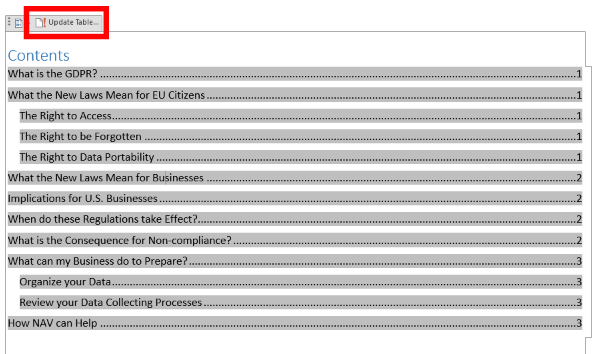
Step 3: Build your Table of Contents

Now for the easy part, actually adding your table of contents. First select where you want your table of contents to go. Then on the references Tab of your main navigation ribbon select Table of Contents. From the dropdown select either “Automatic Table 1” or “Automatic Table 2”.

Table of Contents Button

Your table will automatically generate based off the headings in place. From there you can update the font settings in the table to match the visual style of your document.

Generated Table of Contents

That’s it!

But What if I have Subheadings?

If you have subheadings then you will repeat the same process as before but with the Heading 2 tab. The same can be done with any tertiary (third level) subheadings.

Subheadings in Table of Contents

How do I Update my Table of Contents?

Chances are you will need to update the table to reflect changes such as added/ removed headings and changed page numbers. Rather than remaking the whole table you can simply update the table.

There are two ways to do this. The first is to click on your references tab and select update table from the table of contents menu. The second is to click on your table and select the update table option on the top left.

Update Table Button

Update Table Screen

A pop up will appear asking if you want to update just the page numbers or the entire table. Please select the option that works best for your needs and hit OK.

Update Table of Contents Window

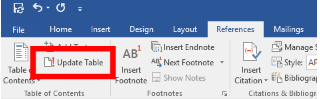
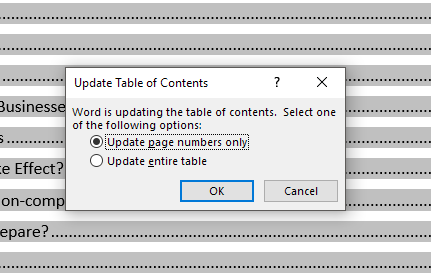
And just like that you have updated your table of contents. Great Job!

I hope you have learned something new from this quick tutorial. If you have any questions or comments about building a table of contents please let us know. You can reach us at marketing@innovia.com.

Microsoft Word is a key program in Office 365. Follow this link to learn more about the value of Office 365 for your business.

Learn More About Microsoft 365  

Tim Britton

Tim Britton

Tim Britton is the Marketing Manager at Innovia Consulting. He leads the day-to-day operations of the Innovia Marketing team and creates the overall marketing strategy with the CMO. Tim is passionate about the prestige of the Innovia Consulting brand and continues to lead Innovia through the continued development and refinement of tactics used to enhance the Innovia Customer experience.

Related Posts