If you have 2 or more monitors then you can utilize a cool feature in PowerPoint called Presenter View. Presenter view enables you to control your slideshow in a separate menu that can’t be seen by your audience. Today I am going to show you how to make sure your Presenter View is setup correctly. Then I will go through every option in the presenter view menu.
First up is how to setup this feature. Now by default Presenter View should be enabled. But in the event that it isn’t or has been turned off here is how you update it. In your main navigation ribbon select the “Slide Show” tab. On the right side of this menu you will see a section called Monitors. From here you can choose whether or not to activate presenter view.
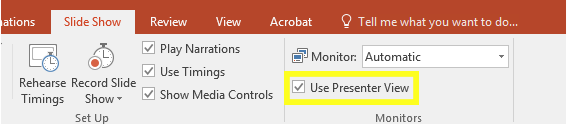
Please note that if you only have one screen you will not see presenter view even if it is enabled.
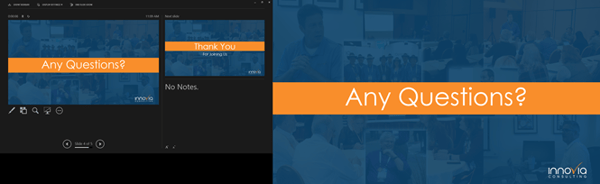
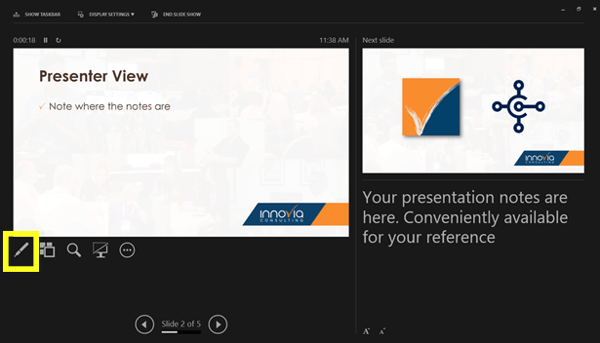
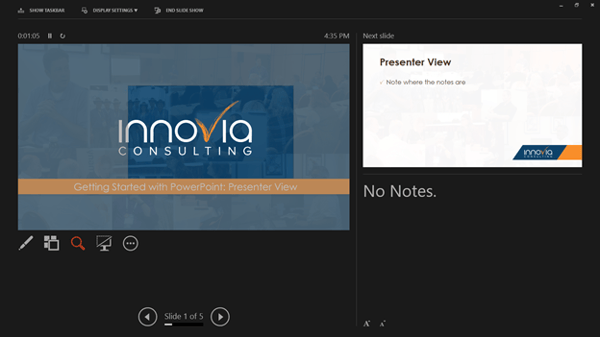
Enter your presentation and you will see something that should look like the following. On one screen you have the presenter view (in this case my left screen) and in the other you have a full screen view of your slides (in this case the right side).
The Basics
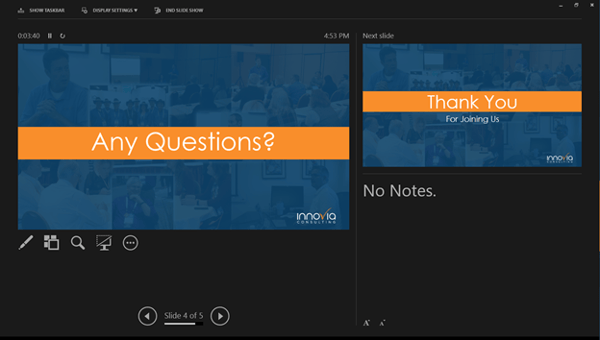
If this is your first time using Presenter View you may feel overwhelmed by all the options. But Microsoft has done a really good job of making the interface intuitive as well as user friendly. The top left portion of the screen shows the slide you are currently on. The Top right slide is a preview of the next slide in your presentation. The bottom left is a series of controls and a next and previous slide arrow. The bottom right box is where any notes you have are displayed.
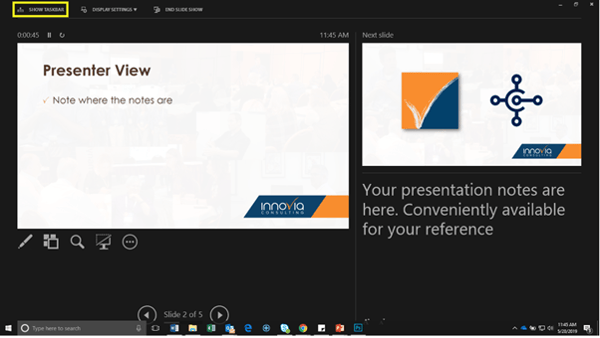
Now let’s take a closer look at the features available within the presenter view. In the top left there is an option called “Show Taskbar”. This option enables you to change to another program without awkwardly disrupting the slideshow.
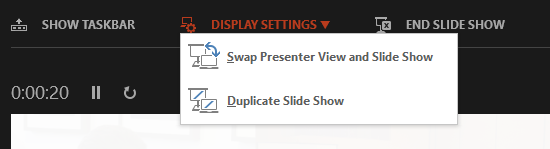
The second option “Display Settings” has two dropdown options, the first is “Swap Presenter View and Slide Show”. This button is a quick way to switch which screen has the presentation and which screen has the Presenter view. The second option is “Duplicate Slide Show” which will show your slides on both of your screens.
The Third Option on this upper menu is to "End Slideshow". This will take you out of presentation mode. You can also exit the presentation by hitting the Esc key.
Continuing down the screen you will notice a timer. It automatically starts the moment you start your slideshow. If you wish to pause this timer or reset it,use the two buttons right next to the timer.

Moving down further you will see an icon that looks like a marker. There are a couple of options for this menu. There is the laser pointer, the pen tool and the highlighter. All three of those tools are options for you to direct attention to certain elements of the slide. You can either draw on the slide itself or draw on the slide preview in the presenter view window.
Within this dropdown menu you are given some additional options such as the ability to change the color for the highlighter and pen with the “Ink Color” tool. You can also erase what you have drawn using the eraser feature. If you want a faster way to erase than you should utilize the "Erase all ink on slide" option which clears the slide of all the markings you made.
There is one more tool in this dropdown menu called “arrow option”, this feature gives you the option to either have your cursor remain on the screen or to hide it. I personally recommend leaving this option alone.
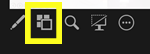
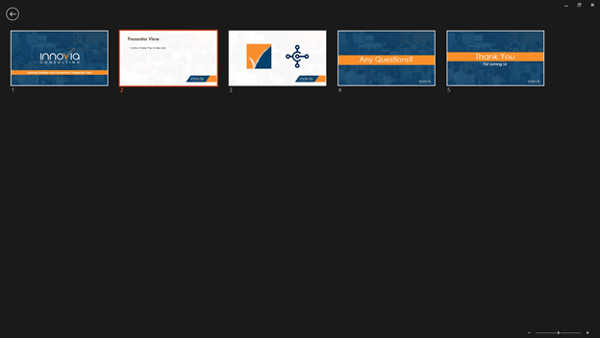
One icon over is your grid view. By clicking on it you can see all the slides in your presentation at once. This is great when you want to move to a slide that is more than two slides away from your current one. I.e if you wanted to go to slide 4 from slide one. To exit this view simply click on the slide you wish to be on or hit the back arrow in the top left corner.
The third option on this lower menu is the zoom tool. You can use this to get a closer view of a specific portion of your slide. When you click on this button your slide will grey out except for a small window as shown below. Move this box around and click to zoom in on a portion of the slide.
After you click, the slide will zoom in to the area you selected. To cancel out of this either hit the ESC key or click on the zoom button again.

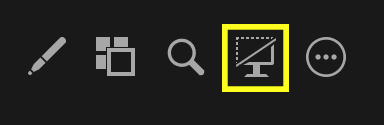
The fourth option gives you the option to black out your screen. The fifth option for the most part gives you the same functionality that the other buttons do. But they do give you a white screen option and a help bar which has a listing of common keyboard shortcuts.
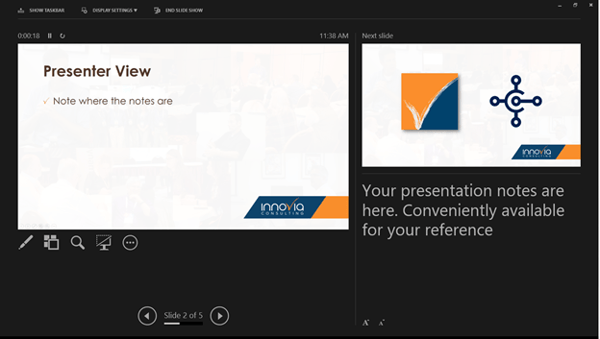
Finally, I want to discuss what is arguably the most important feature in presenter view. Which is the ability to see your notes during your presentation. On the bottom right part of the presenter view screen you will see any of the notes that you put into a slide. This way you can keep the content on your actual slide to a minimum and focus the attention where it should be. On you, the presenter.
There are two ways to help format the size of your notes. At the bottom left of this panel you will see the font size control. Click the "A" with the up arrow to increase your font size and the "A" with a down arrow to decrease it.

Did you know those two thin white lines on the top and to the left are adjustable? Move them as needed to fit your personal preferences.
I hope this detailed overview has given you some helpful tips to make the most of your PowerPoint experience. If you have any questions about using presenter view please let us know. You can contact us at marketing@innovia.com .
PowerPoint is available as a part of Office 365. Learn more about adding Office 365 to your Business Central system here.