1) Overview
In this blog, I will demonstrate the initial Team Foundation Server setup to allow source code control of Dynamics NAV objects.
One of the tools that Innovia Consulting uses for managing development projects is Team Foundation Server. Our goals with managing development projects include documenting what the modification does and exactly what was changed within NAV for a given development project.
One of the challenges with using new software is figuring out exactly what needs to be installed and configured to accomplish our goals. This was the case for me in learning how to use Team Foundation Server.
As part of the blog, I will show you how to get Team Foundation Server installed and setup on your computer. In a follow-up blog, I will go into more detail about how to use Team Foundation Server to do such things as see the history of modifications for a given client and see the details of a given modification.
There are several preliminary steps that you must complete to use Team Foundation Server to manage development projects including Dynamics NAV projects. These steps include installing Visual Studio on your computer, connecting to the Visual Studio Team Services website, creating a Team Project, and connecting this Team Project to Visual Studio.
Visual Studio 2013 and 2015 fully support Team Foundation Server. For this blog, I used Visual Studio 2013 Express edition. I will not cover the installation of Visual Studio in this blog but I will cover the remaining preliminary steps.
While we will use Visual Studio for checking in modifications and reviewing previous modifications in Team Foundation Server, we can use Team Foundation Server to manage source code from any programming language (including Dynamics NAV source code). I will cover how this is done on the follow-up blog.
2) Additional resources on setting up and using Team Foundation Server with Dynamics NAV
There are excellent resources available on the web describing how to use Team Foundation Server with Dynamics NAV. For this blog, I referenced the following Youtube video by Soren Klemmensen which I recommend to anyone getting started with Team Foundation Server for Dynamics NAV:
TFS01 – Setting up TFS and VS
3) Connecting to the Visual Studio Team Services Website and Starting Your First Project in the Cloud
To get started with Team Foundation Server, you need to go to the website https://www.visualstudio.com/products/visual-studio-team-services-vs
This should bring up a screen similar to the following.
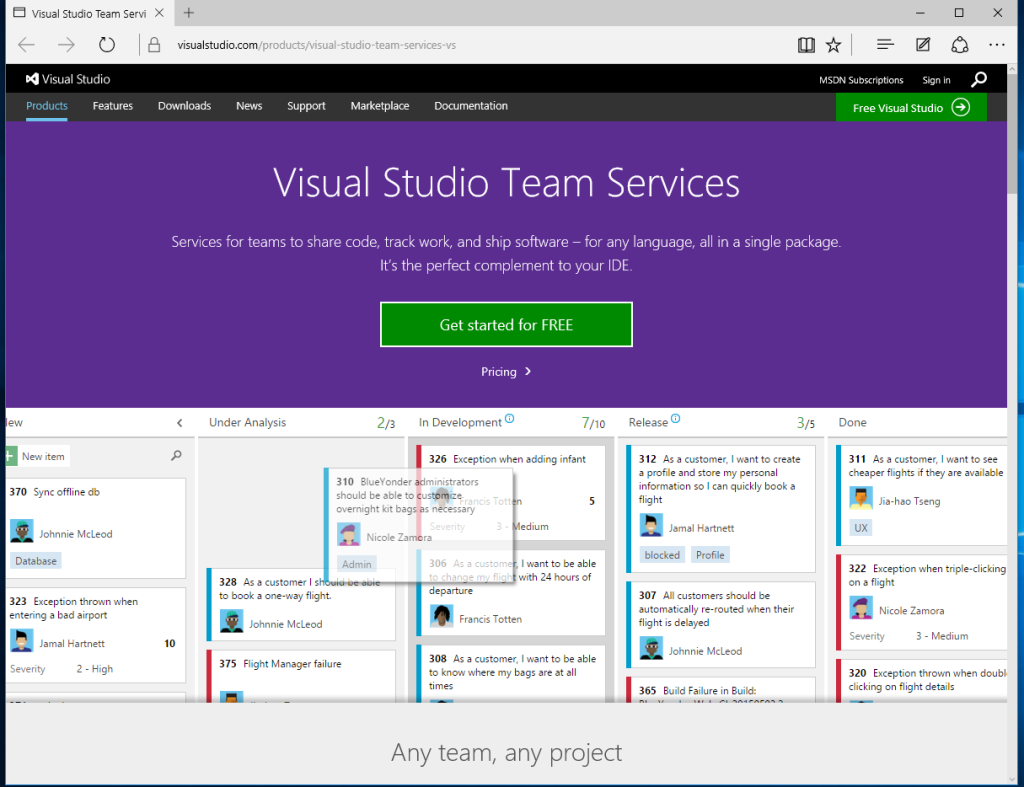
Click on the green “Get started for FREE” button to get started. There is a small monthly fee if more than 5 users will be using your project.
This brings up the following “Sign in to your Microsoft Account” window.
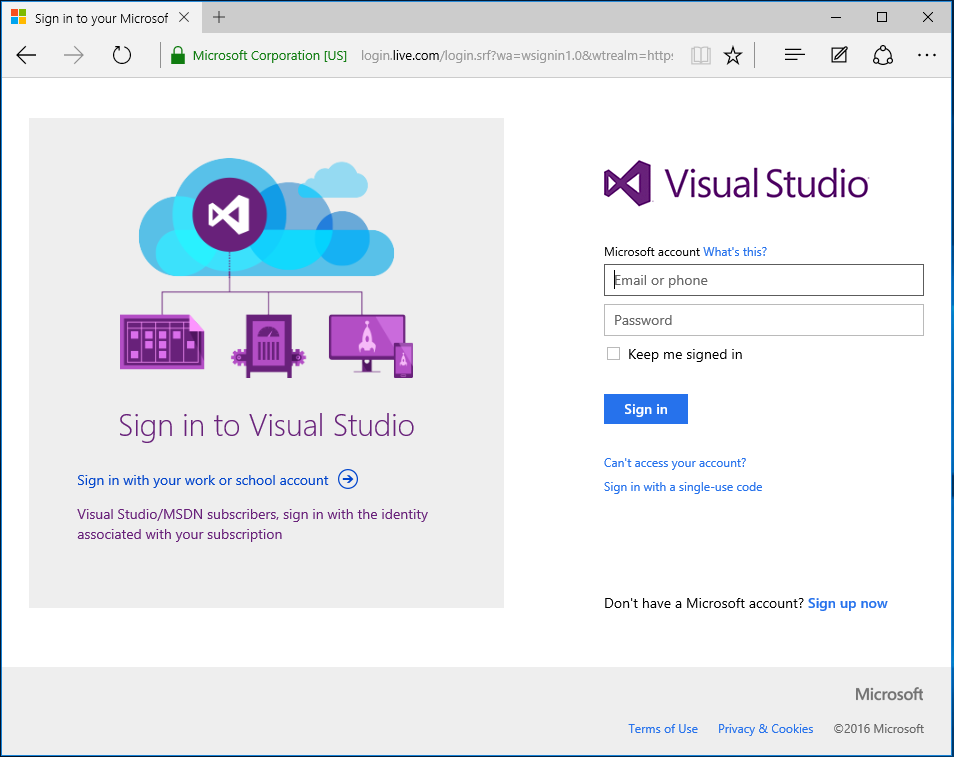
If you already have a Microsoft Account, sign in to Visual Studio with that Microsoft account and password. If you don’t have a Microsoft account, there is a link at the bottom of the page to “Sign up now”.
At this point, you should be at the “Visual Studio Account Creation” page. Since we want to use Team Foundation Server to manage development projects, I have selected the option to manage code using “Team Foundation Version Control”. We also need to choose a name for the site URL. For this blog, I will use the site URL Name: Dynamics-NAV-Projects.visualstudio.com.
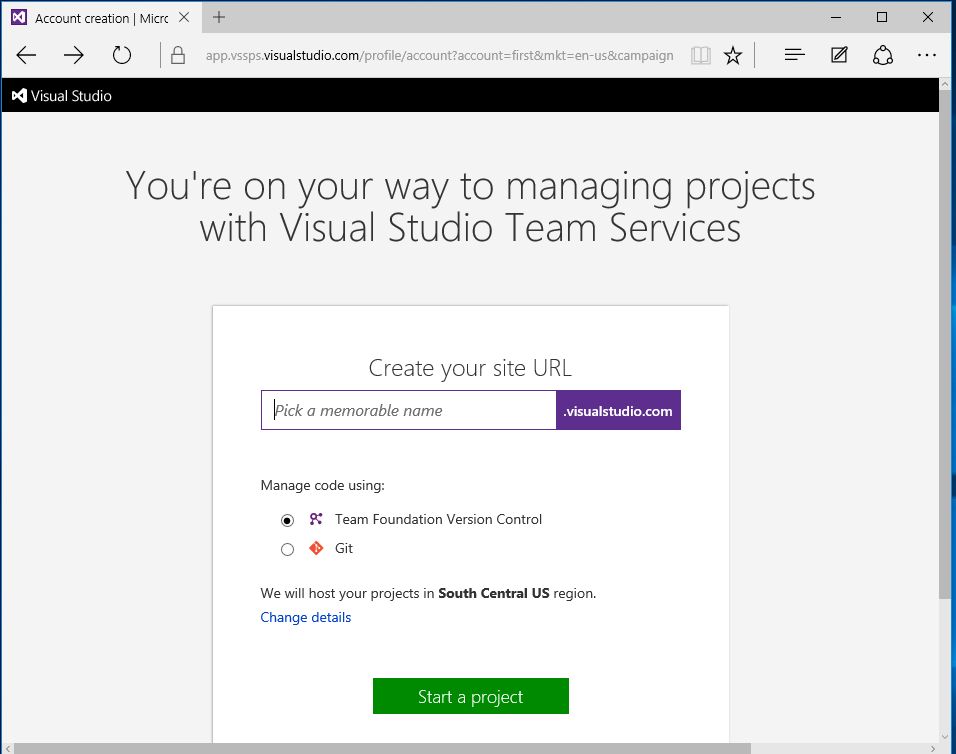
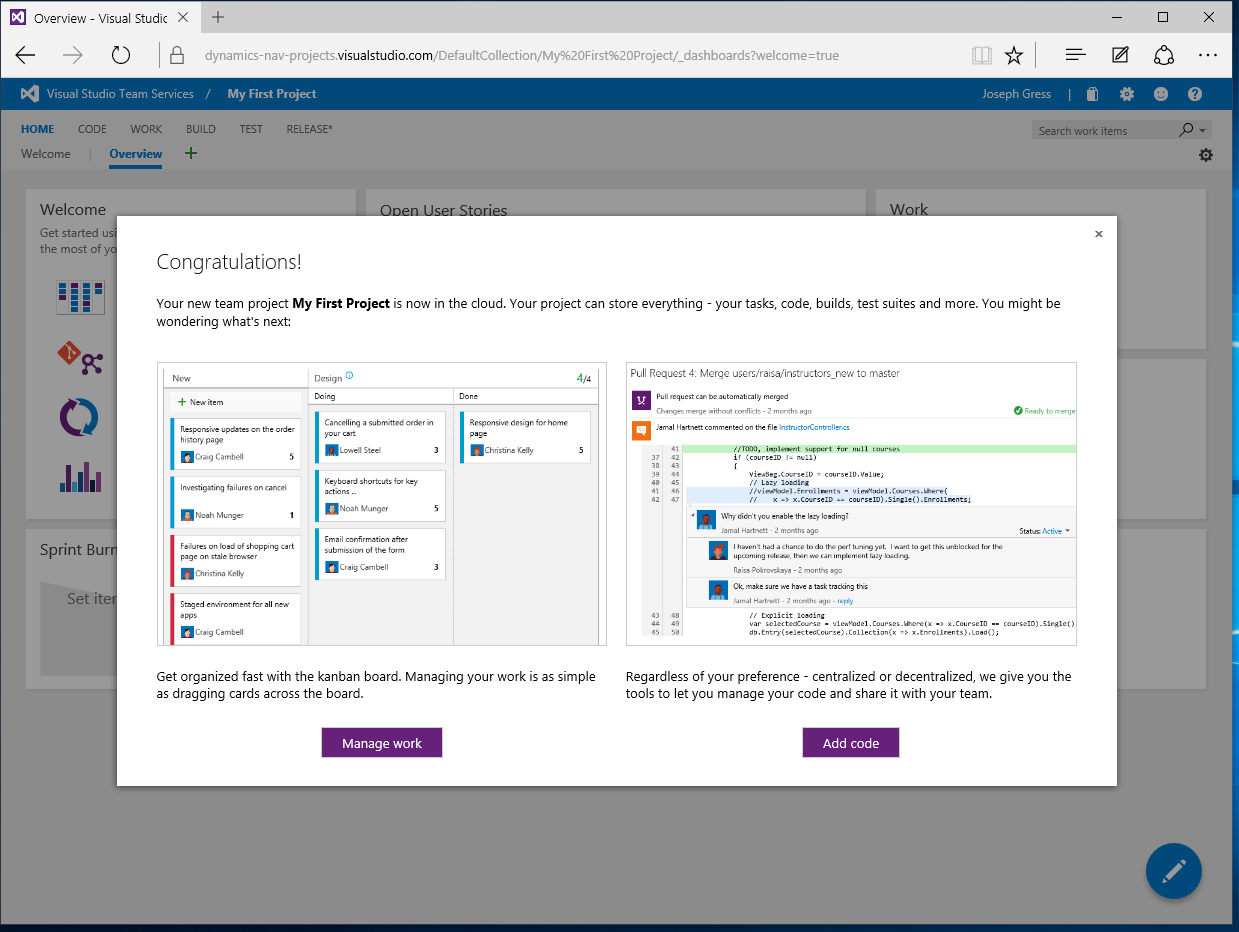
After you enter the desired site URL, click on the “Start a project” button and wait a few minutes, you should see a screen similar to the following notifying you that your first Team Foundation Server project was successfully created in the cloud.
4) Creating a Team Project
What is a team project? A team project is a location where you store source code associated with a particular system such as Dynamics NAV. If you have other software that you want to manage, you might have separate Team Projects for each software product. You might also have a separate Team Project for such things as powershell scripts that you use for managing your servers. Alternatively, you could have the source code for all of these software products under separate folders in one team project.
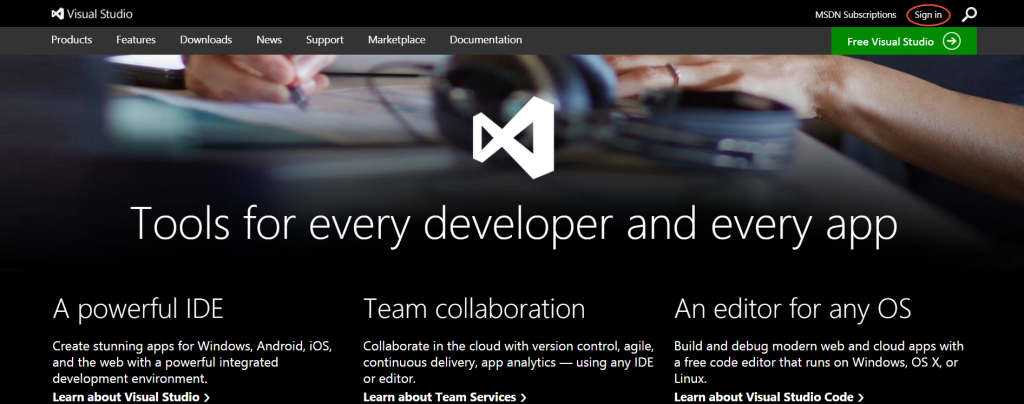
To create a team project, go to https://www.VisualStudio.com/ in Internet Explorer then click on the “Sign in” option in the upper right hand corner shown here
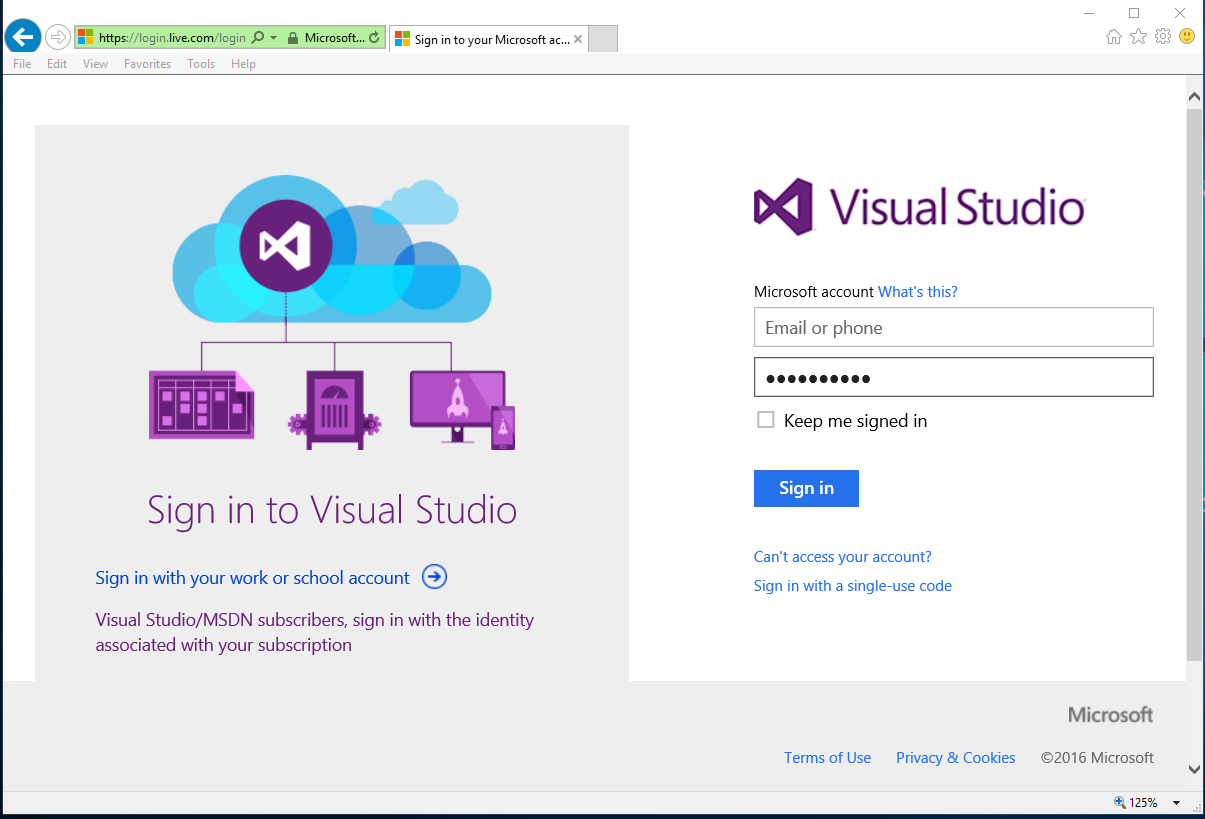
After doing this, you should get a screen similar to the following. Fill in the email address and password associated with your Microsoft account then click the "Sign in" button on this screen. You should use the same account that you used in step 3.
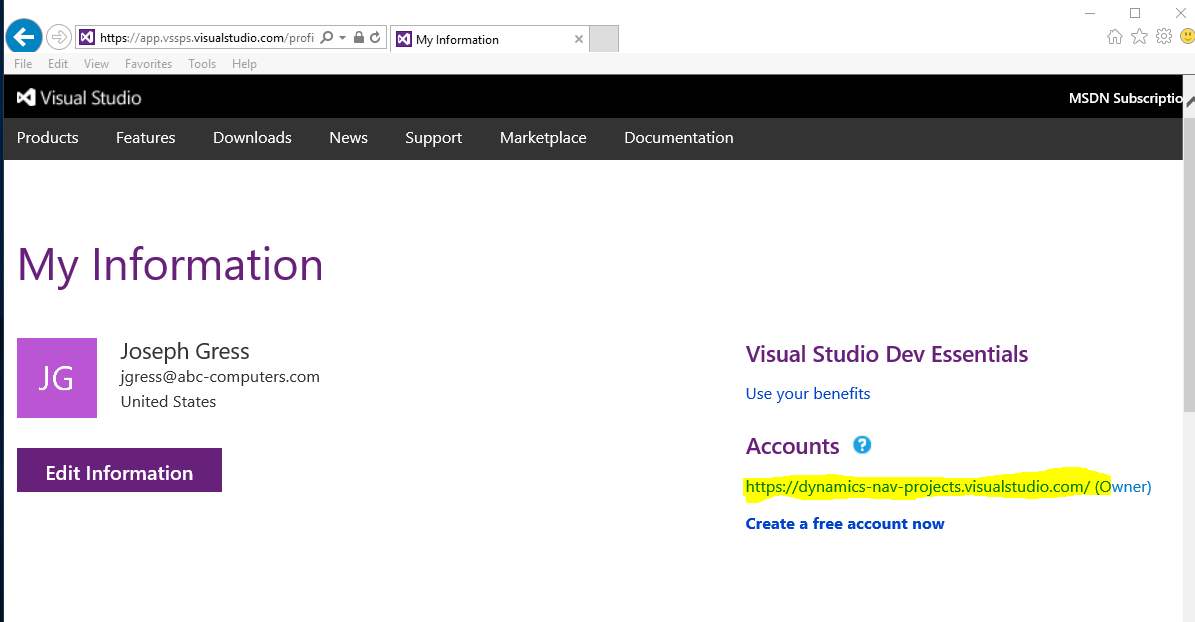
This should bring up a screen similar to the following. This screen should include the account that you created in step 3. This account is highlighted in the screen shot. Click on this account.
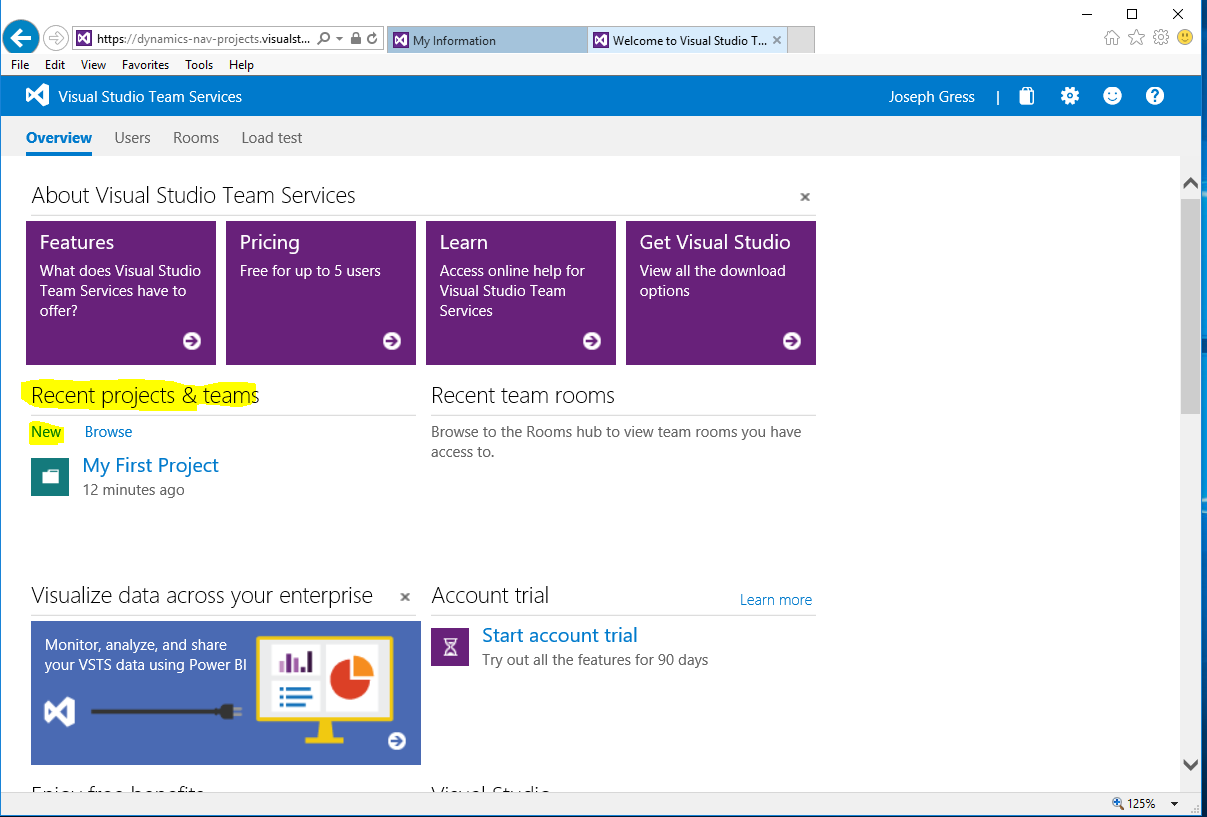
This should bring up a Visual Studio Team Services page for the given account that is similar to the following screen shot. To create a project, click on the "New" button in the “Recent projects & teams" section. This button is highlighted in this screen shot.
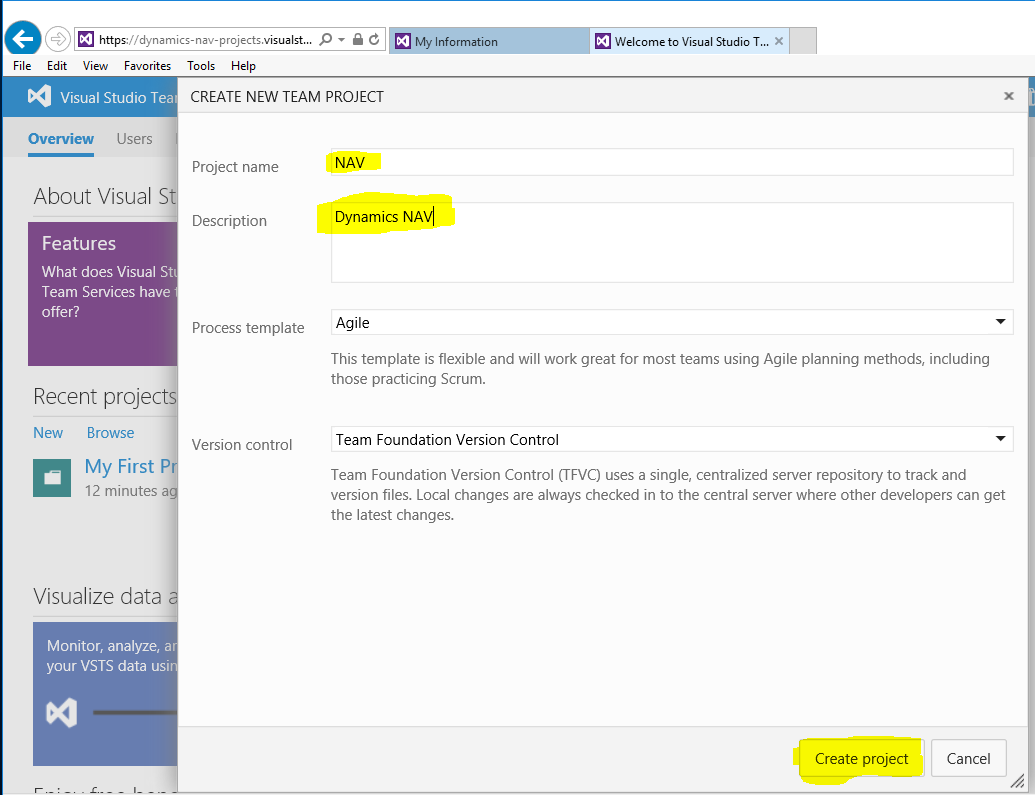
Fill in the desired project name and description. For this blog, I am going to name the project simply “NAV”. If needed, change the Version control to “Team Foundation Version Control” then click on the “Create project” button.
At this point, we have created a Team Project in the cloud for managing any modifications to our NAV database. We now need to connect this Team Project to Visual Studio on our workstation to enable us to check-in modifications and see the details of previous modifications.
5) Connecting this Team Project to Visual Studio
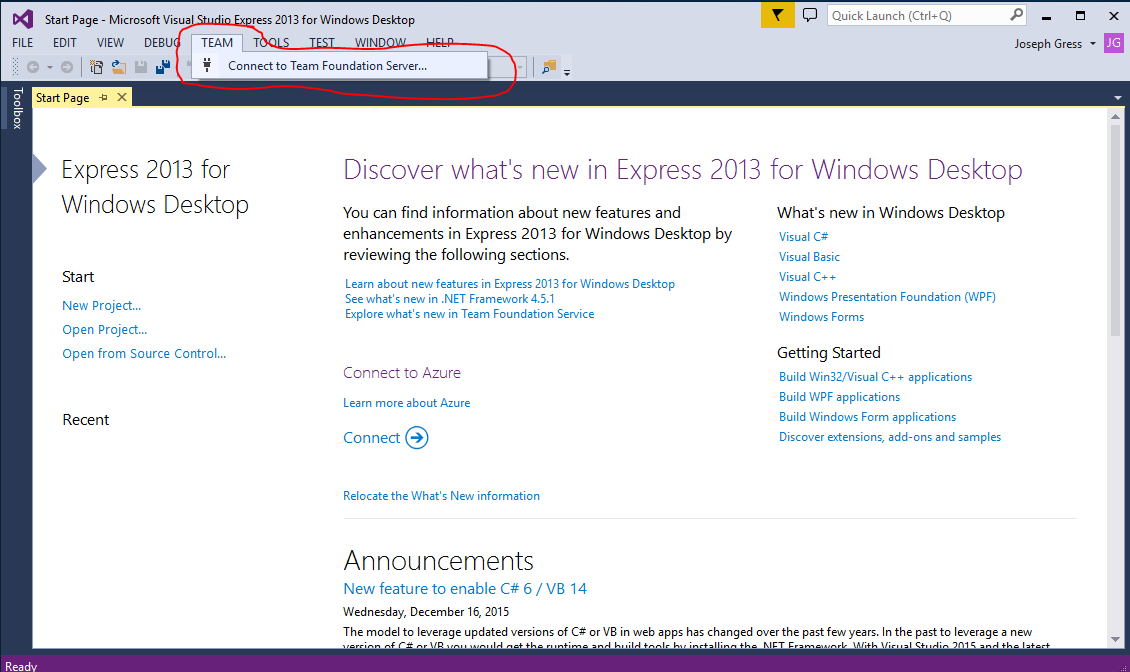
To connect the team project that you created in the last step to Visual Studio, open Visual Studio then select "Team" > "Connect to Team Foundation Server …" . This option is circled in the following screen shot.
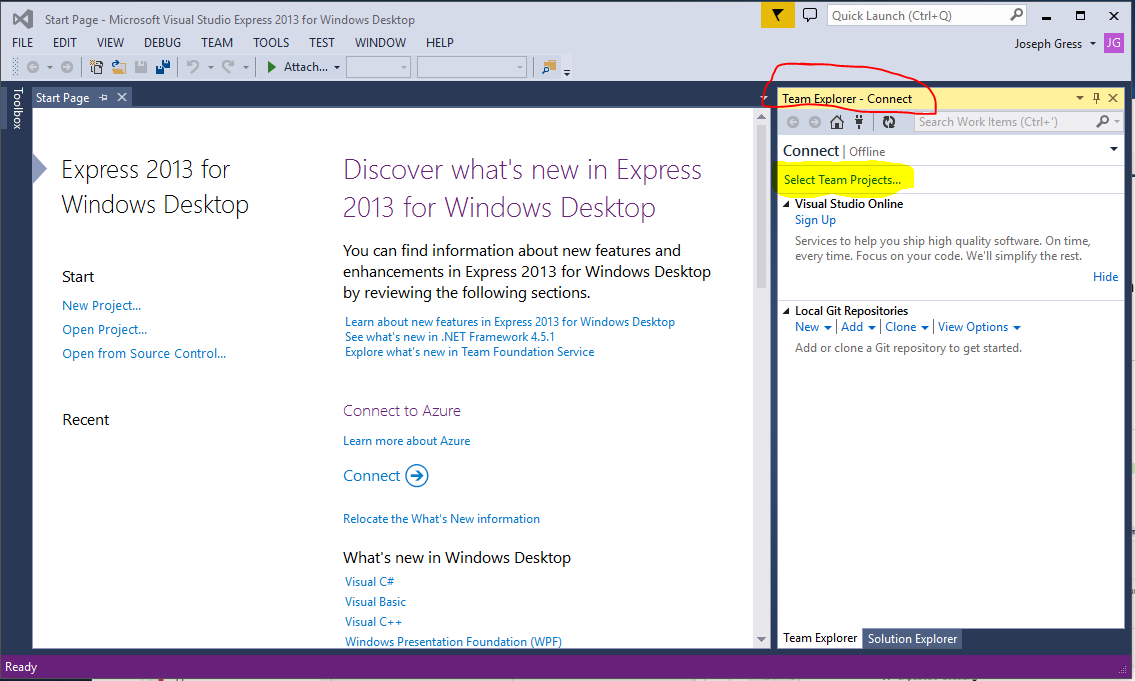
This should bring up a screen similar to the following. Click on “Select Team Projects …” in the “Team Explorer – Connect” window on the right side of the screen.
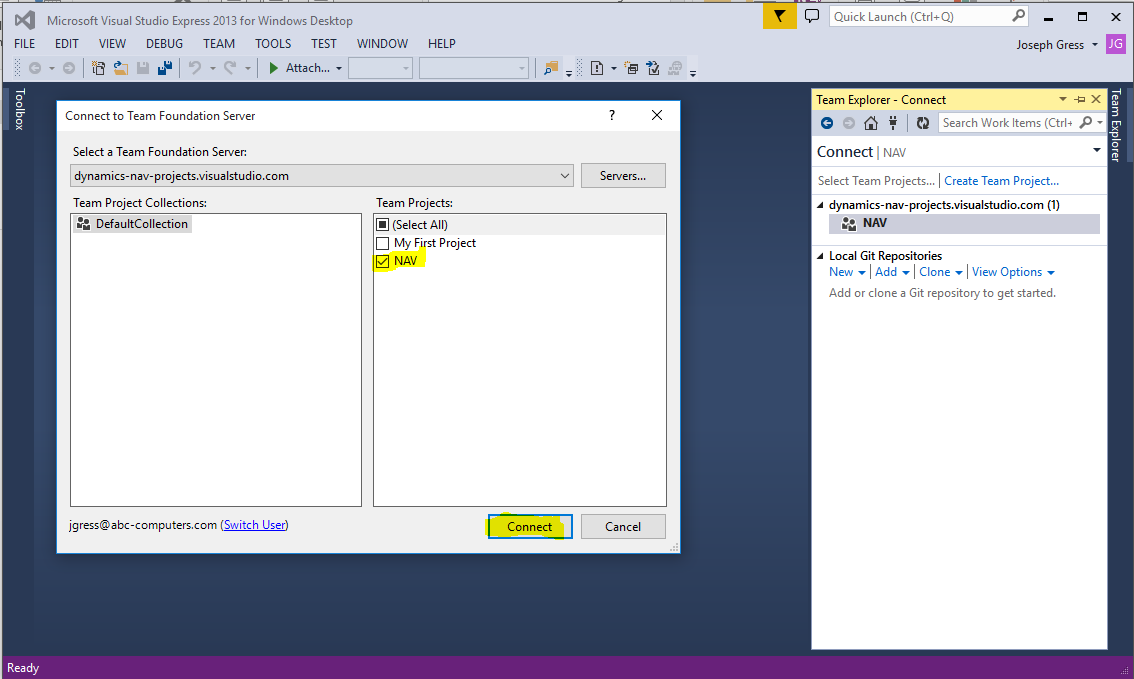
This should bring up a “Connect to Team Foundation Server” window similar to the following. Select the NAV team project that we created in step 4 then click on the "Connect" button. This team project and button are highlighted in the screen shot.
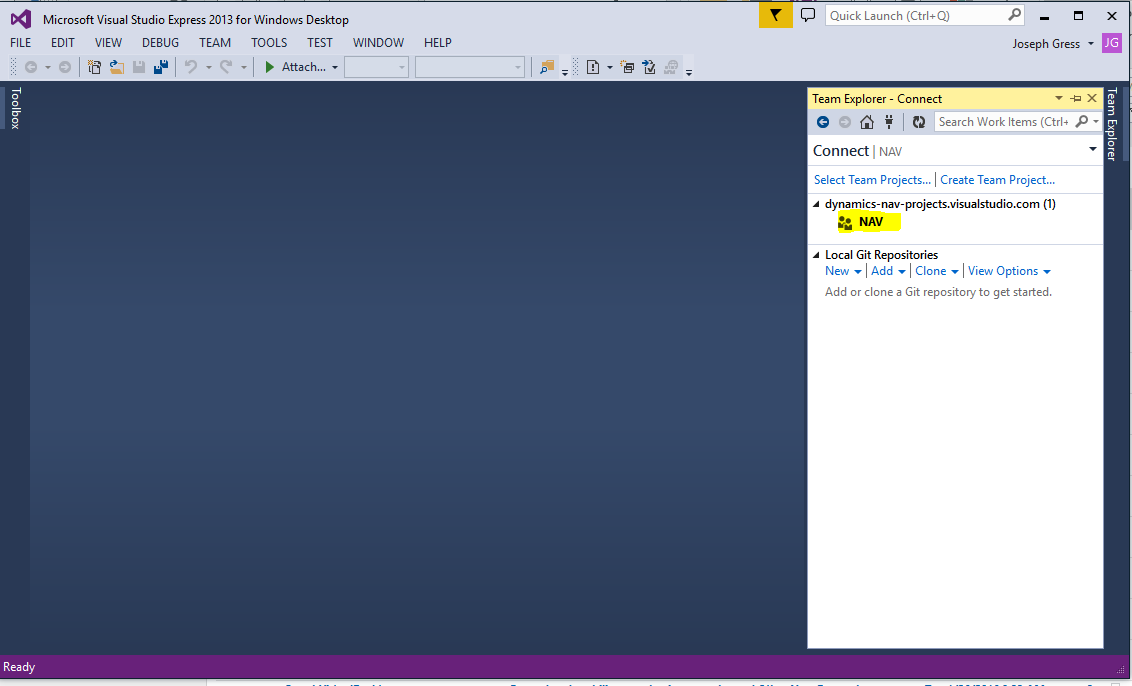
At this point, you should see a Team Explorer window similar to the following. Double click on the NAV team project which is highlighted in the screen shot.
The first time that you connect to a team project in Visual Studio, you should see a link to “Configure your workspace” in the Team Explorer window. This link is circled in the following screen shot.
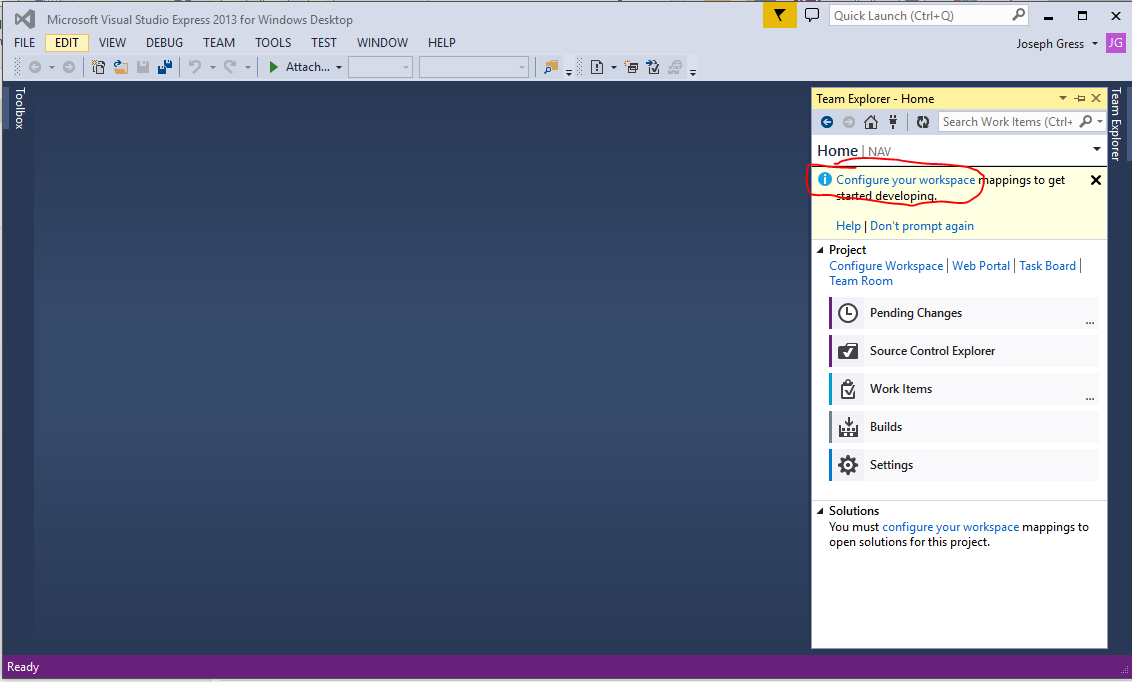
When you click on the “Configure your workspace” link, you should see a window similar to the following:
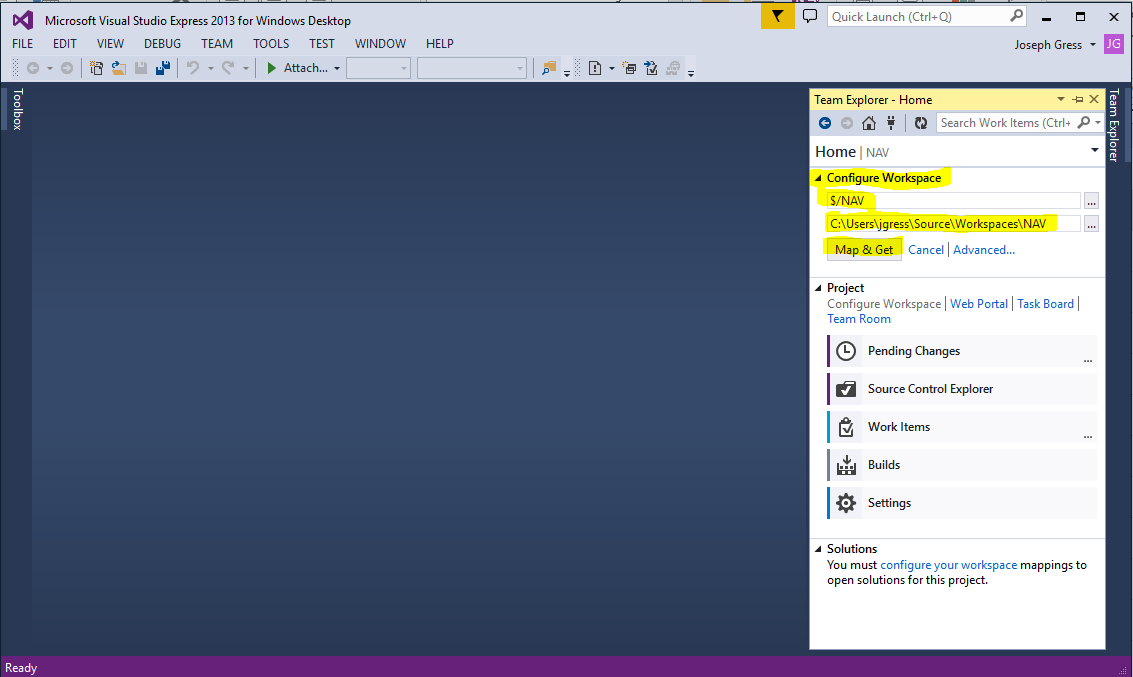
The first path listed ($/NAV) is the path to the NAV team folder in Team Foundation Server in the cloud. The second path listed (C:UsersjgressSourceWorkspacesNAV by default for me) is the path to the local workspace for the NAV team folder. I like to change the second path to something like C:TFS_NAV so that the folder is at the root level. This is up to the individual user’s preference. Once you have set the path to the local workspace as desired, click on the “Map & Get” button which will map the specified team folder in the cloud to the local workspace folder and get any files that are in the team folder and put them in the specified local folder.
6) Conclusions
In this blog, I have demonstrated how to perform the preliminary steps of connecting to the Visual Studio Team Services website and creating a Team Project in the cloud and connecting this Team Project to Visual Studio on your workstation.
Once this is done, you are ready to start adding your modifications into this Team Project in Team Foundation Server. In part 2 of this blog, I will go into more detail about how to do this and, from there, use Team Foundation Server to see the history of modifications for your NAV database and how to see the details of a given modification.